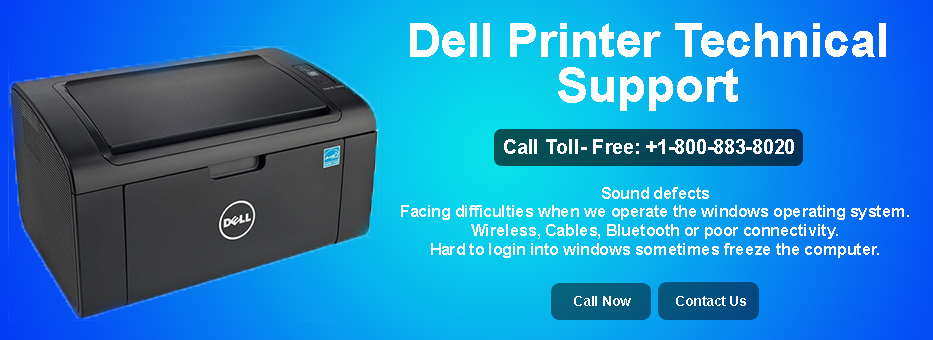
How to Connect Dell Printers with PC?
Dell printers are supposed to be the most efficient and reliable
printers. It gives an endearing experience of printing. In order to install
printer with your computer setup, you definitely require a genuine guidance
from certified technicians. Dell Printer Support USA tells you the
easiest way possible to connect your printer with PC.

We are an independent service source, allowing you full freedom
to access our telephonic services. When you fail to connect you printer with
PC, dial Dell Printer tech Support Number USA – +1-800-883-8020. Our
support services are designed as per your budget.We remain open 24 hours a day
and 7 days a week. We are never off service for you. We guide our
customers over phone only. You can reach out us from remote locations. We have
designed the convenient steps by following which you can get success over your
printer issues. These steps are formulated by experienced techies.
Step 1- Remove
all the protective materials.
Step 2– Insert the power cord
into power socket of the printer. And provide it power supply.
Step 3-Insert Ink cartridge
holder into the holder.
Step 4– Turn on the printer and
press the setup button.
Step 5– Insert the CD/DVD into
the CD drive. Open the file and run the installation file.
Step 6-Install the drivers and
software.
Step 7-Detect the printers and
add your Printer. Discover the printers IP address.
Step 8-Wait for printer setup
completion. For wireless printer, add a printer using TCP/IP address or
host name.
Step 9- Click
on complete. The printer application menu will appear. For wireless printers,
feed the IP address that was found.
Step 10- IP
address is used to query MAC address. It is used to create actual printer port.
Configure these things properly.
Step 11-Provide papers and enjoy
printing.
Read our more blogs on How to use scanner on dell printers